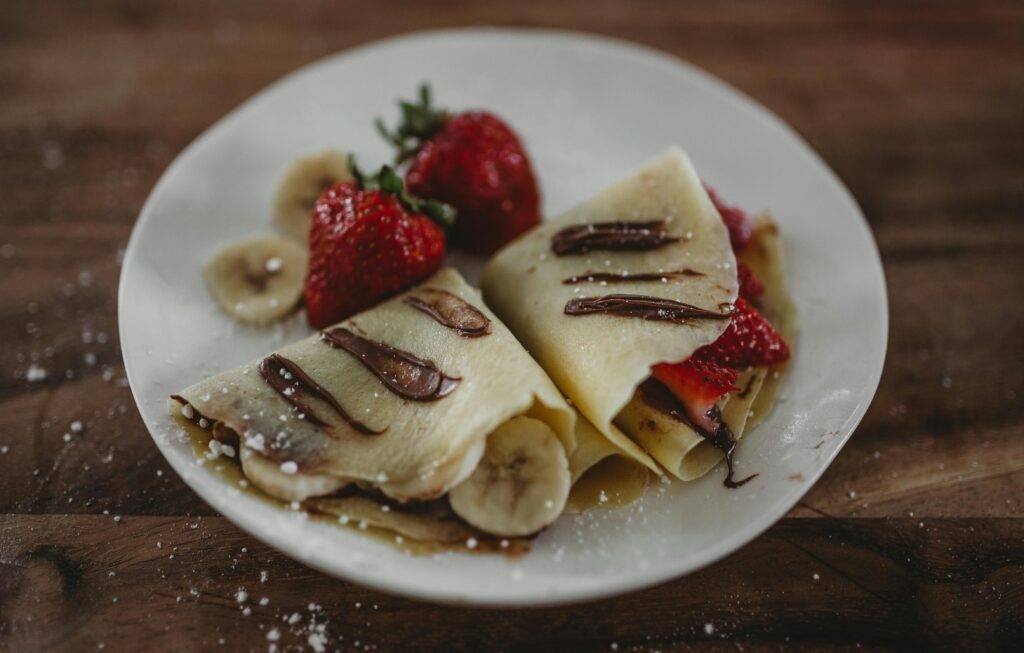
Making The Perfect French Crepe

The allure of French cuisine is undeniable. At its heart lies a simple yet versatile dish: the French crepe.
This thin pancake, both delicate and robust, is a testament to the culinary prowess of the French. It’s a dish that invites creativity, yet demands respect for tradition.
Our journey into the world of crepes begins with a classic French crepe recipe. We’ll delve into the nuances of crepe-making, from selecting the right flour to mastering the perfect flip.
Along the way, we’ll explore both sweet and savory fillings, transforming the humble crepe into a gastronomic delight. We’ll also tackle common crepe-making challenges, ensuring your journey is smooth and rewarding.
Whether you’re a seasoned home cook or a food enthusiast eager to try something new, this guide is for you. Let’s embark on this culinary adventure together, and discover the joy of making the perfect French crepe.

The Art and History of French Crepes
French crepes have a rich history that dates back centuries. Originating in Brittany, they were traditionally enjoyed during La Chandeleur, celebrating Candlemas. This event is steeped in customs, where the act of flipping crepes promises prosperity.
Crepes quickly spread beyond Brittany, capturing hearts across France and the world. They evolved into a beloved street food, easy to personalize with diverse fillings. The art of crepe-making combines precision with creativity, allowing for endless variations. Crepes embody the essence of French culinary tradition—simple ingredients transformed into something extraordinary.
Essential Ingredients for Authentic French Crepes
Creating authentic French crepes requires only a few key ingredients. Despite their simplicity, each component plays a vital role in the final result.
Begin with flour, the base of your crepe mixture. Choose between all-purpose or buckwheat, depending on your preference for texture and flavor.
Eggs are next, lending structure and richness. They help bind the batter, ensuring consistency and flexibility.
Milk, both whole or skim, provides the necessary liquid. It balances the batter’s consistency, making it pour easily onto the pan.
Lastly, a pinch of salt enhances the flavors. It ensures your crepes taste delightfully balanced, regardless of your chosen fillings.
Here’s a quick list of these essentials:
- All-purpose or buckwheat flour
- Eggs
- Milk
- Salt
These simple yet important ingredients lay the foundation for a delectable French crepe.
Choosing the Right Flour: All-Purpose vs. Buckwheat
Flour selection greatly influences your crepe’s texture and taste. All-purpose flour makes classic, tender crepes with universal appeal.
Buckwheat flour, however, offers a distinct alternative. It delivers an earthy flavor and a slightly heartier texture, perfect for savory crepes.
For sweet crepes, all-purpose flour’s neutral taste allows the fillings to shine. On the other hand, buckwheat pairs beautifully with robust ingredients.
In the end, your choice sets the culinary tone. Whether it’s refined or rustic, each flour brings its own flair to your crepes.
The Secret to Perfect Batter: Resting Time
Resting the batter is a crucial crepe-making step. It allows the flour to fully absorb the liquid. This absorption creates a smoother, more homogenous mixture.
Resting also helps relax the gluten. This results in a tender, pliable crepe that won’t tear easily.
A minimum resting period of 30 minutes is advised. However, letting the batter rest longer, even overnight, can enhance texture.
In short, patience pays off. The resting time elevates your crepes from good to exceptional, ensuring a delicate and delightful outcome.
Mastering the Technique: Thin and Delicate Crepes
Creating thin crepes requires practice and precision. Start with just enough batter to cover the base of your pan. Swirl the pan gently, ensuring an even layer.
Timing is essential in crepe making. Cook them quickly over medium-high heat for the best results. This approach preserves their soft texture.
Use a spatula designed for crepes to flip them. It should be wide and thin, suitable for delicate handling.
Watch the edges. When they begin to lift slightly, it’s time for the flip. Swift movements help prevent tearing.
Consistency is your ally. Each crepe offers a new chance to refine your technique. Pursue delicacy, and soon you’ll master this French classic.
Step-by-Step Guide to Mixing the Batter
Begin with fresh, quality ingredients for the best flavor. Measure with precision—accurate amounts are key to consistency. Your batter will thank you.
Combine your ingredients in stages. Start with eggs and milk, whisking until smooth. Gradual incorporation prevents lumps.
Slowly add the flour, whisking constantly. Ensure each bit is mixed before adding more. This method guarantees a smooth result.
Add melted butter last for a rich taste. The butter will help to prevent sticking, ensuring a beautiful finish.
Let the batter rest for at least 30 minutes. This break allows the flour to absorb the liquid, enhancing texture and flavor.
Selecting the Best Pan for Your Crepes
Choosing the right pan makes a big difference. A non-stick pan is ideal for hassle-free cooking. These pans prevent sticking and promote even cooking.
Crepe pans are often specialized and have a low edge. This design helps in spreading batter thinly and flipping crepes with ease.
If you can’t find a crepe pan, a good-quality skillet works too. Just ensure it’s flat-bottomed and evenly heated.
Heating the Pan: The Key to Non-Stick Crepes
Begin by heating your pan slowly to a medium-high temperature. This gradual rise ensures consistent heat across the surface.
Before adding batter, test with a few water droplets. They should sizzle and evaporate quickly, indicating proper heat.
Using a bit of butter or oil enhances the non-stick quality. Be sure it’s spread evenly for the best crepe results.
Flipping Like a Pro: When to Turn Your Crepe
Watch the edges of the crepe carefully as it cooks. They should turn golden and lift slightly from the pan.
Use a spatula to check the underside. If it’s lightly golden, it’s ready to flip. This usually takes about 1-2 minutes.
A confident, quick motion is best for flipping. Practice makes perfect, so don’t be afraid to try!
Filling Your Crepes: Sweet and Savory Inspirations
Crepes offer a world of possibilities with their endless filling options. You can opt for sweet or savory combinations.
Sweet crepes are perfect for breakfast or dessert. Think of fresh fruits, creamy Nutella, or zesty lemon and sugar.
Savory crepes are ideal for lunch or dinner. Consider fillings like ham and cheese, spinach and feta, or smoked salmon with cream cheese.
Explore these filling ideas:
- Sweet: Berries with whipped cream, caramel and banana, or vanilla custard.
- Savory: Sautéed mushrooms and goat cheese, ratatouille, or herbs and ricotta.
Experiment with textures and flavors. The balance can elevate your crepe experience to new heights!
Presentation: Folding and Rolling Techniques
The presentation is key to making crepes look as good as they taste. Folding and rolling crepes can create a polished appearance.
Try folding crepes into triangles. This method keeps the filling neatly tucked inside.
Rolling crepes is another popular technique. It provides an elegant, cylindrical form while holding fillings in place effortlessly.
Pairing and Serving: From Wine to Toppings
Crepes pair beautifully with a variety of drinks and garnishes.
For savory crepes, a crisp white wine often complements the flavors. Consider a Sauvignon Blanc.
Sweet crepes shine with a dusting of powdered sugar or a drizzle of chocolate syrup. They pair well with a fruity red wine or a cup of herbal tea.
Troubleshooting: Common Crepe-Making Challenges
Crepes tearing? Your batter might be too thick.
Try adding a bit more milk, and whisk again until smooth.
If crepes stick to the pan, ensure it’s hot enough before pouring batter.
A little butter or oil can help too.
For uneven cooking, spread batter quickly.
Swirl the pan evenly to cover its entire surface.
Crepes for Everyone: Adapting the Recipe for Dietary Needs
Crepes can easily become gluten-free. Swap all-purpose flour with a gluten-free blend for a similar texture.
For a vegan version, replace eggs with chia seeds. Mix 1 tablespoon of seeds with 2.5 tablespoons of water, and let them sit.
To make dairy-free crepes, use almond or oat milk instead of regular milk for smooth crepes.
Conclusion: The Joy of Crepe Making
Crafting crepes is an art that blends technique with creativity. It’s rewarding and opens doors to many flavors.
With this guide, you’re ready to create delightful crepes. Experiment with fillings and techniques to make each crepe uniquely yours. Enjoy the process and savor the outcome.
